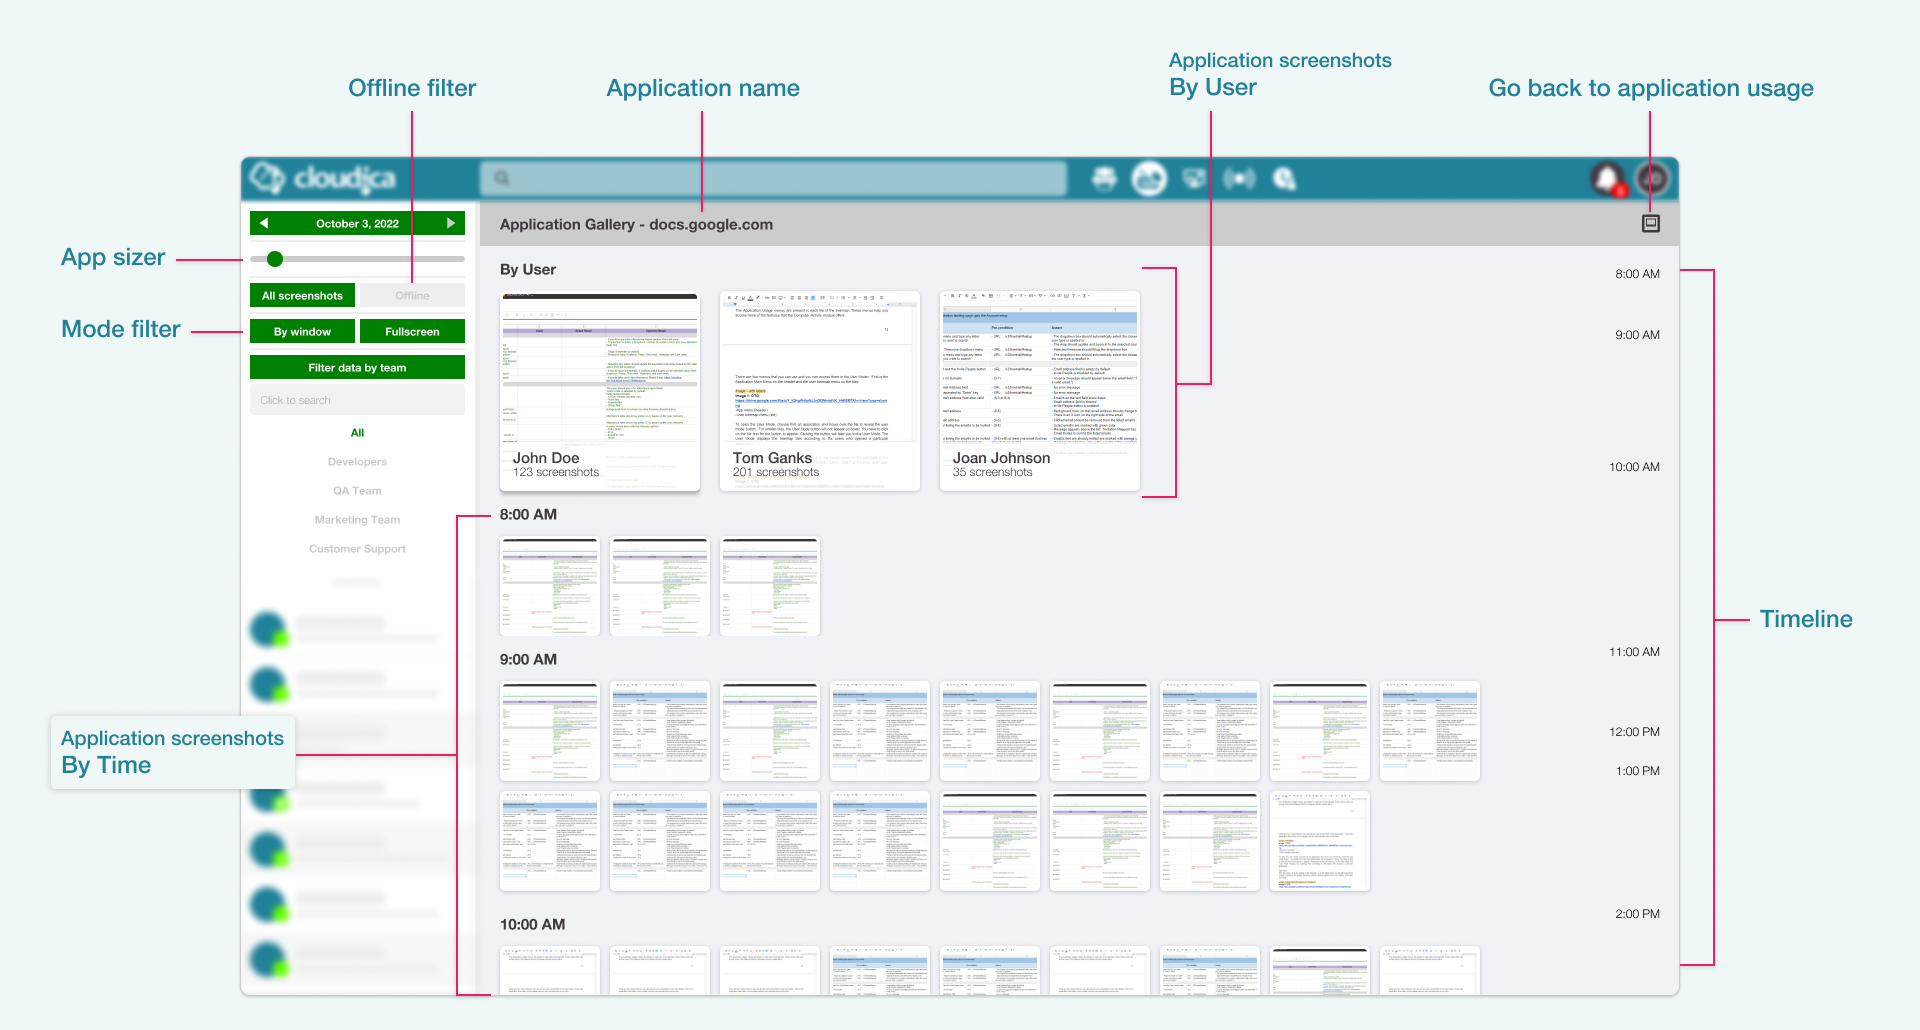
- Application NameIndicates the application's name and is located at the header.
- Back ButtonAllows you to return to the treemap.
- Application Screenshots by UserThe screenshots are grouped by user.
- Application Screenshots by TimeThe screenshots are grouped by the time when they were captured.
- App SizerAllows you to resize the screenshots.
- Offline FilterLets you view the screenshots that were captured offline.
- Mode FilterLets you filter the screenshots captured by window or fullscreen.
- TimelineA vertical timeline at the right side of the gallery.
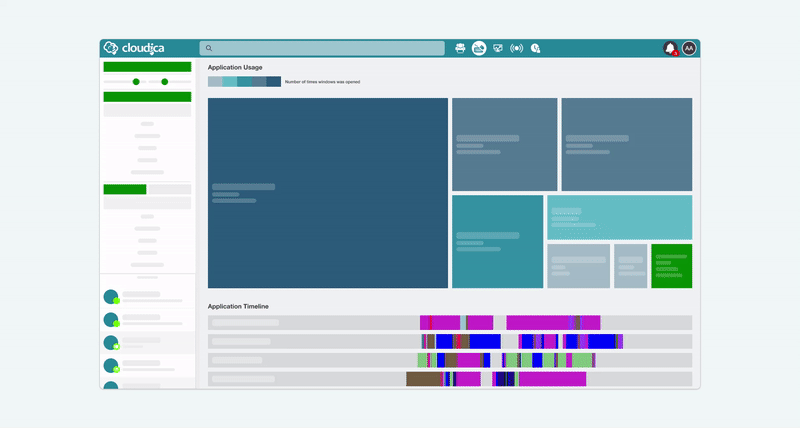
- From the Application Usage treemap, click a tile.
- Click the User Mode button located at the upper-right corner of the tile.
- Click the App Menu (kebab menu) on the right section of the gallery header.
- Choose Browse Gallery from the menu options.
- Application screenshot
- User's name
- The total number of captured application screenshots
- From the Application Usage treemap, click a tile.
- Click the User Mode button located at the upper-right corner of the tile.
- Click the App Menu (kebab menu) on the right section of the header.
- Choose Browse Gallery from the menu options.
- Click the user’s application screenshot.

- From the Application Usage treemap, click a tile.
- Click the User Mode button located at the upper-right corner of the tile.
- Click the user’s tile from the treemap.
- Click the User Treemap Menu (kebab menu) on the upper-right corner of the tile.
- Choose Browse Gallery from the menu options.
- From the Application Usage treemap, click a tile.
- Click the User Mode button located at the upper-right corner of the tile.
- Click the App Menu (kebab menu) on the right section of the gallery header.
- Choose Browse Gallery from the menu options.
- Look under the section of the gallery of users.
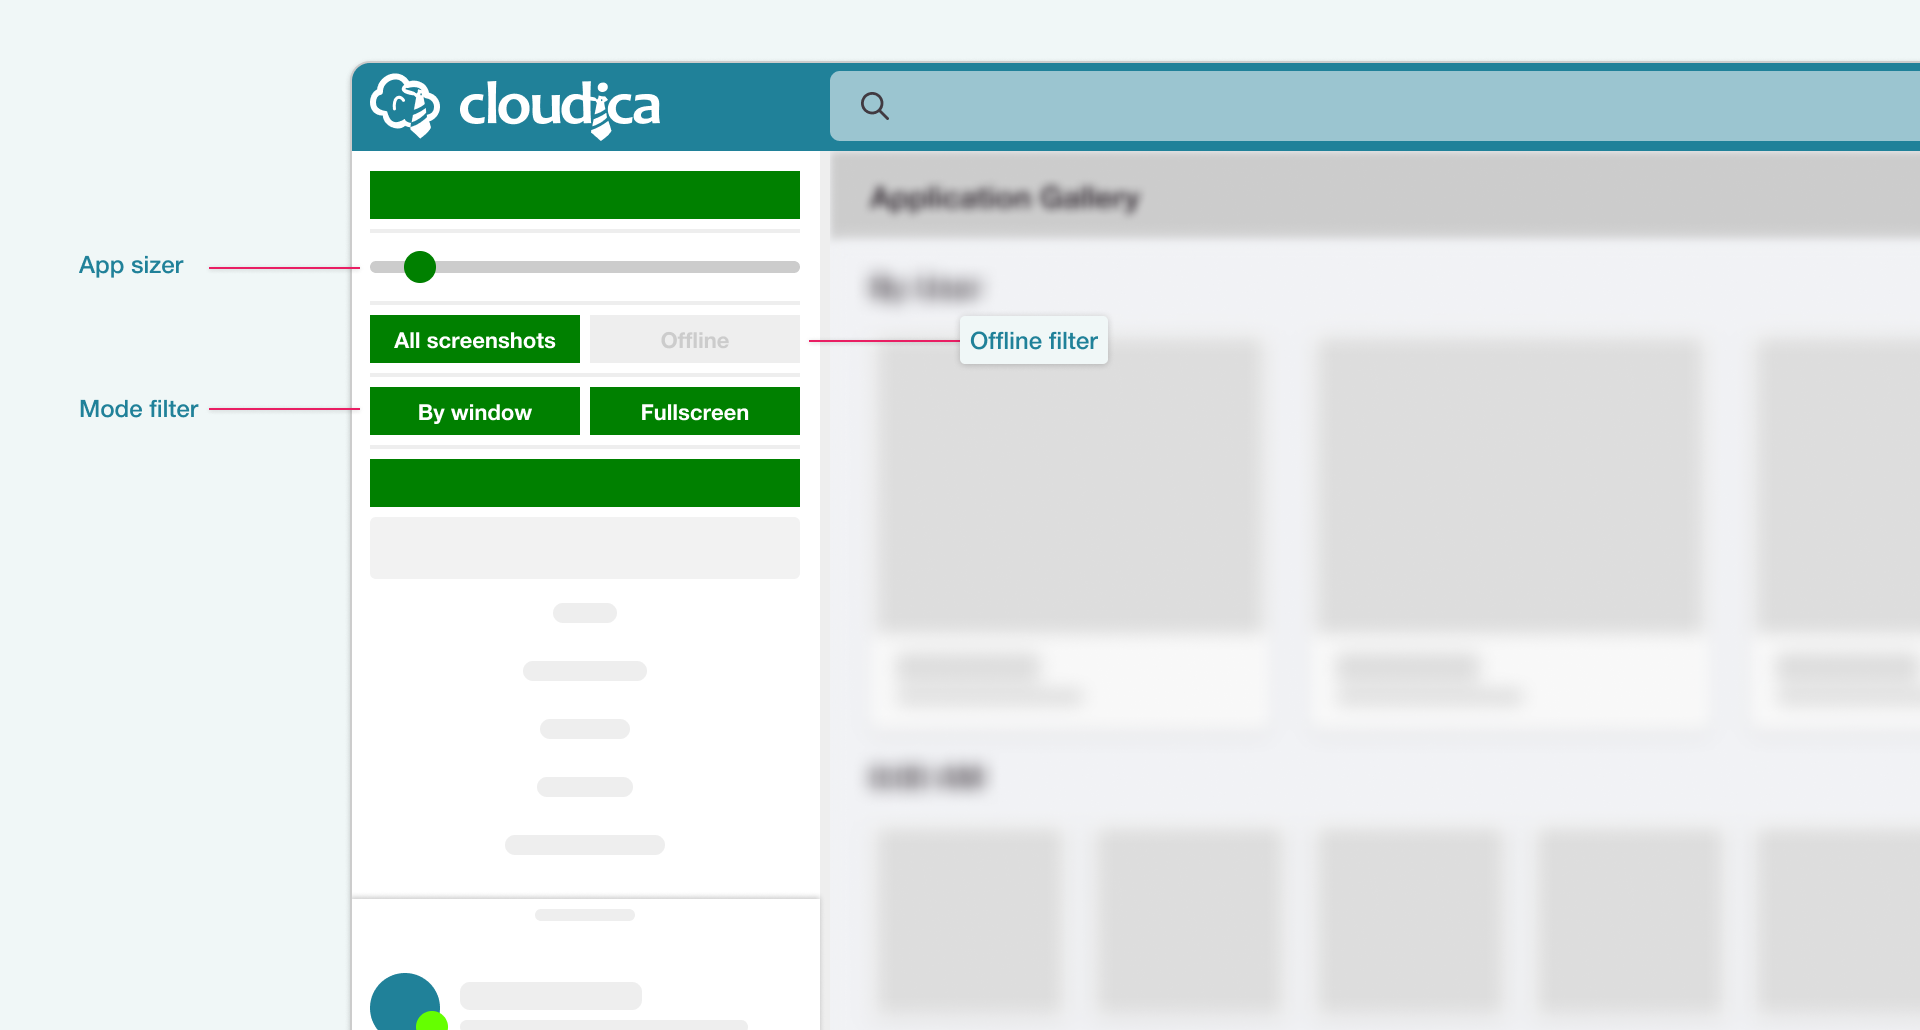
- All Screenshotsis enabled by default and shows all the application screenshots.
- Offlinedisplays the screenshots that were captured when the user is offline or had a connection interruption.
- By WindowThis toggles screenshots captured by window.
- FullscreenThis toggles screenshots captured in full screen.
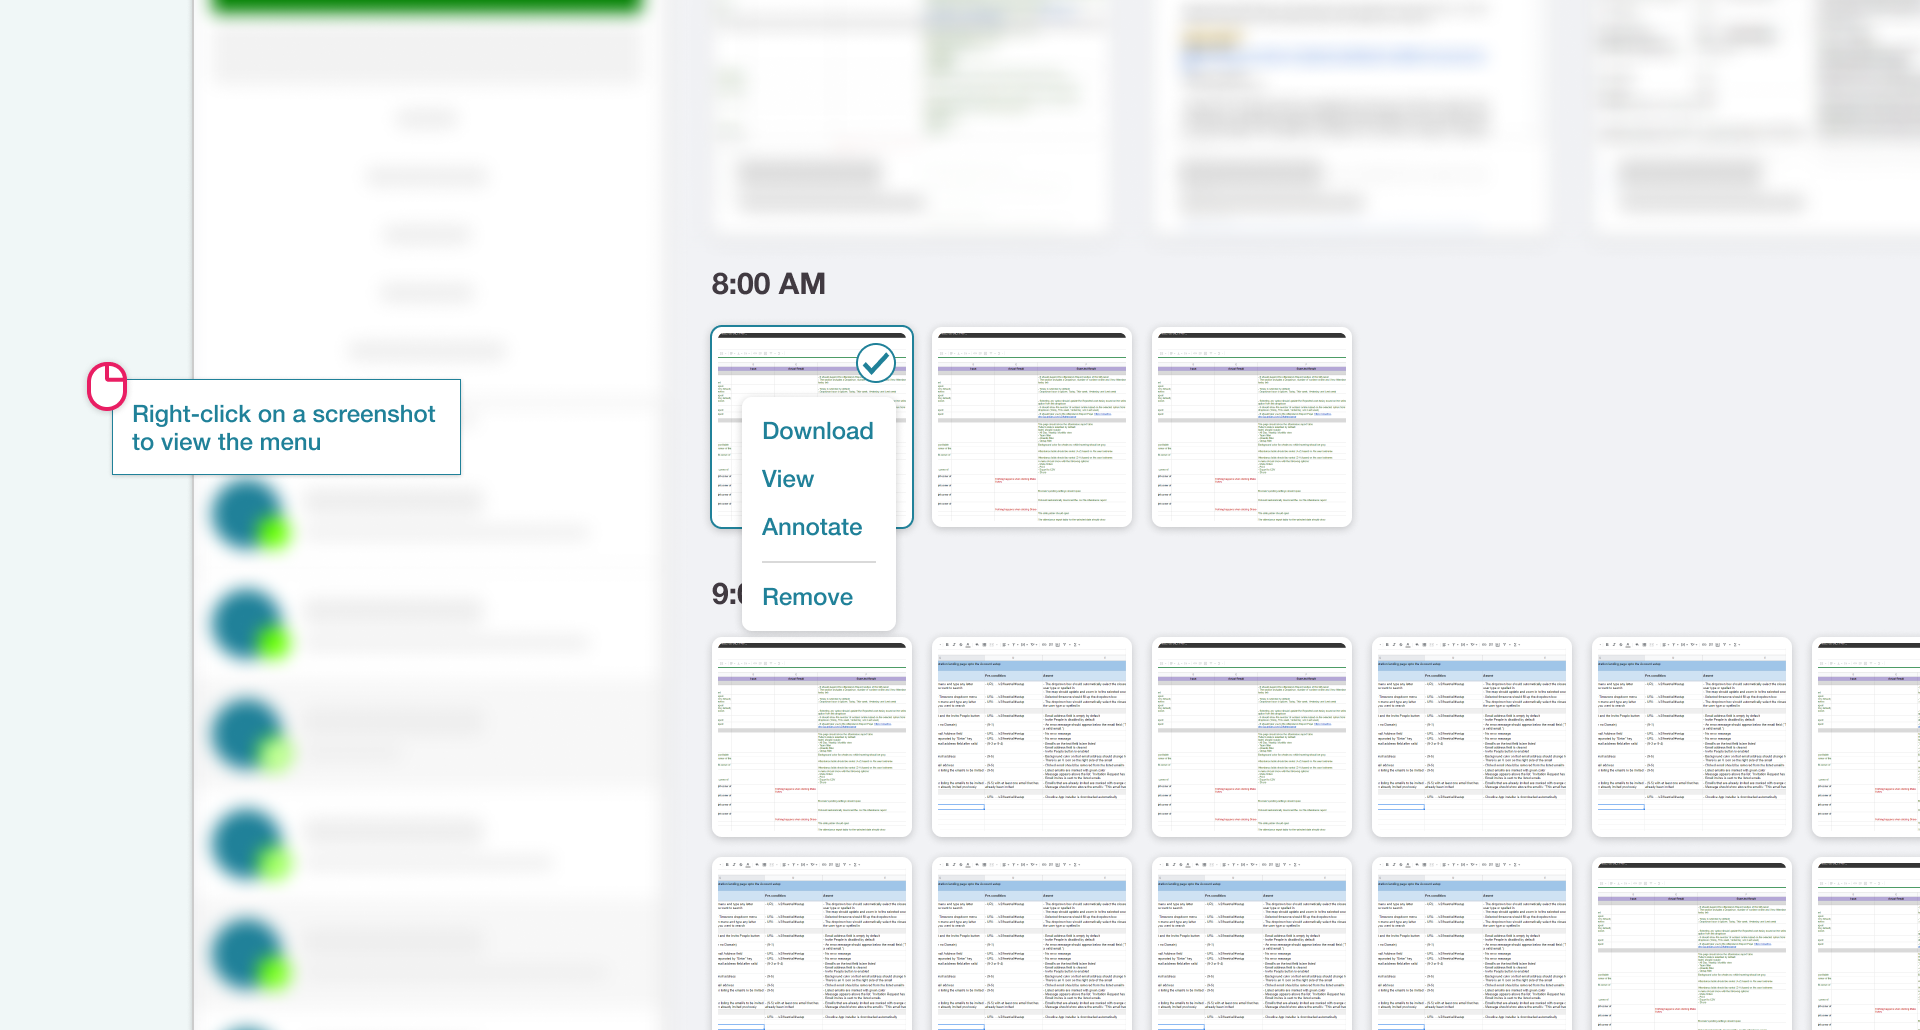
- Right-click anywhere on the screenshot.
- Select Download from the menu options.
- Right-click anywhere on the screenshot.
- Select View from the menu options.
- Right-click anywhere on the screenshot.
- Select Annotate from the menu options.
- Right-click anywhere on the screenshot.
- Select Annotate from the menu options.