App Permission Setup Walkthrough for Windows
Welcome to the walkthrough of the app permission setup for Windows users. If you’re a Mac user, just click here.
Launching the app for the first time after its installation will initiate the app permission set up. This means that the app is getting permissions to access your machine to capture the needed data while you’re logged in on the app.
Here are the things to expect.
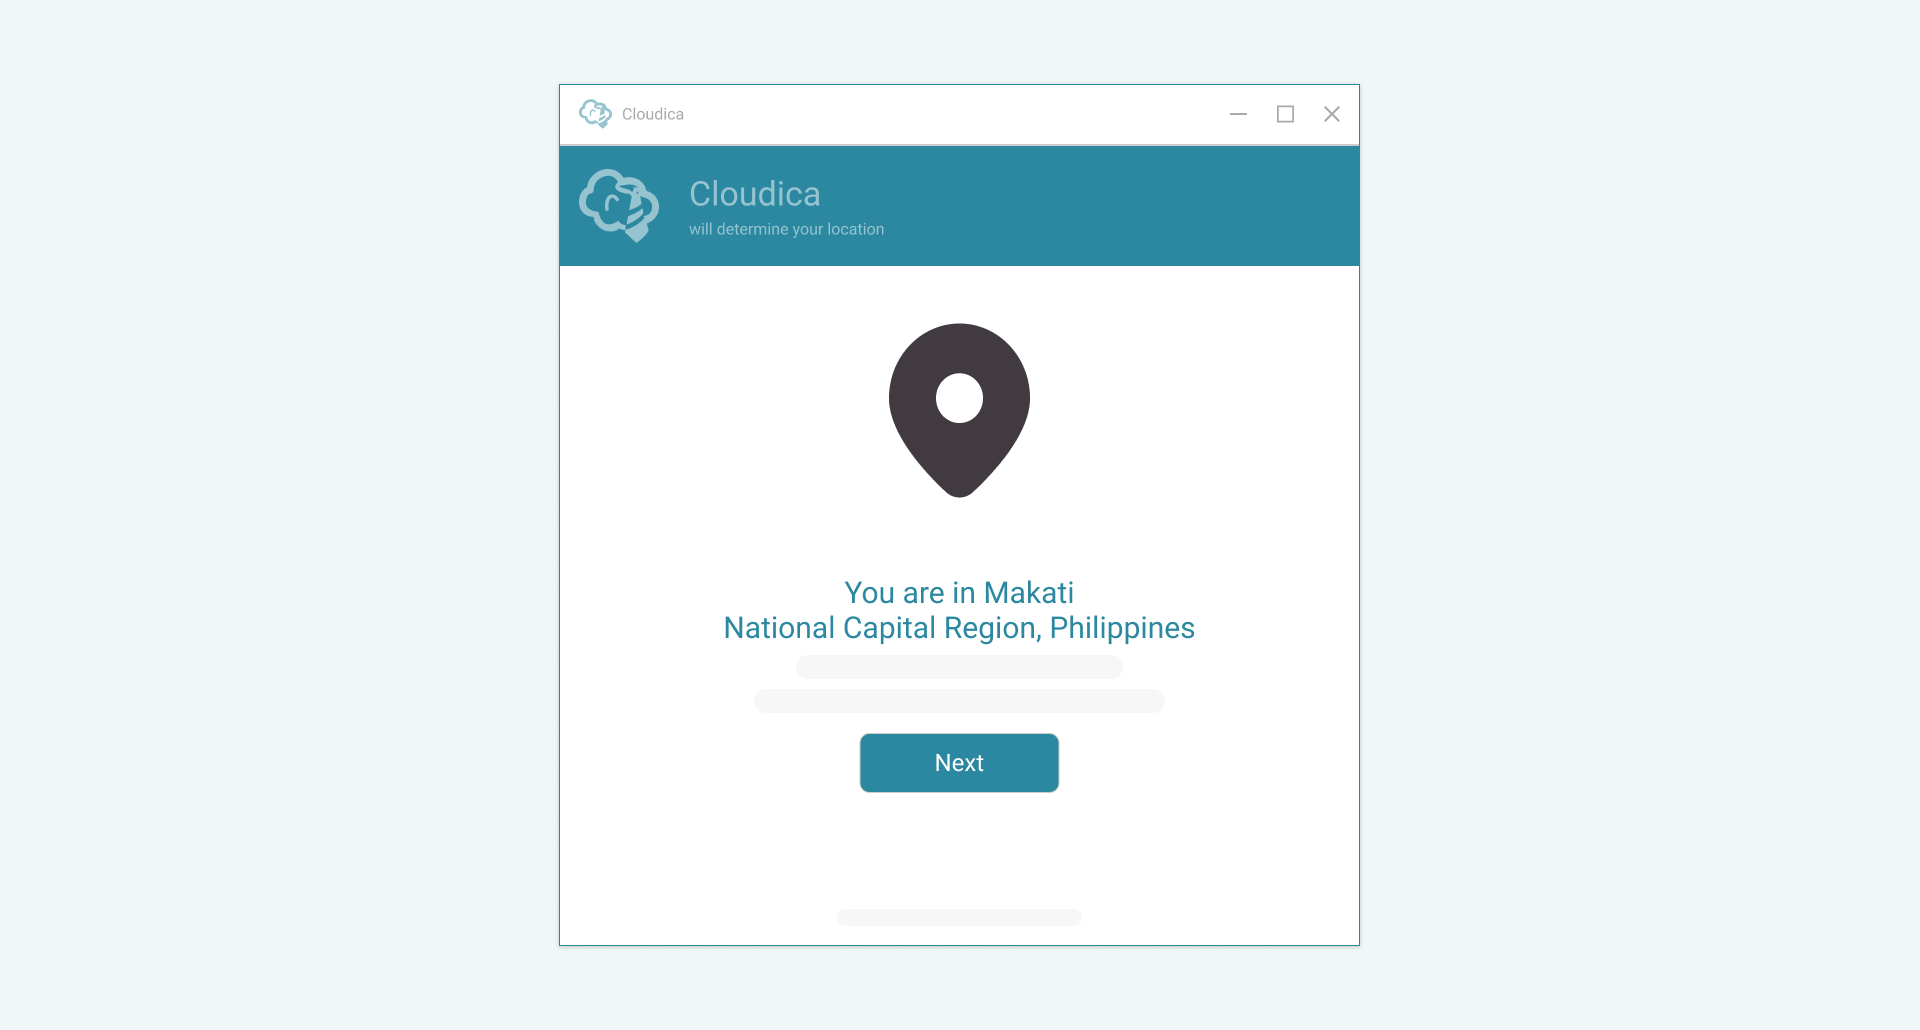
First, the app uses your location to verify your identity.
And next is the camera to capture snapshots and monitor idle time. If you click Next, the app will take your photo. For this, try to place yourself at the center of the frame.
Then, the app will ask to access your microphone to monitor idle time. If you click Next, the app will try to detect sound using your mic.
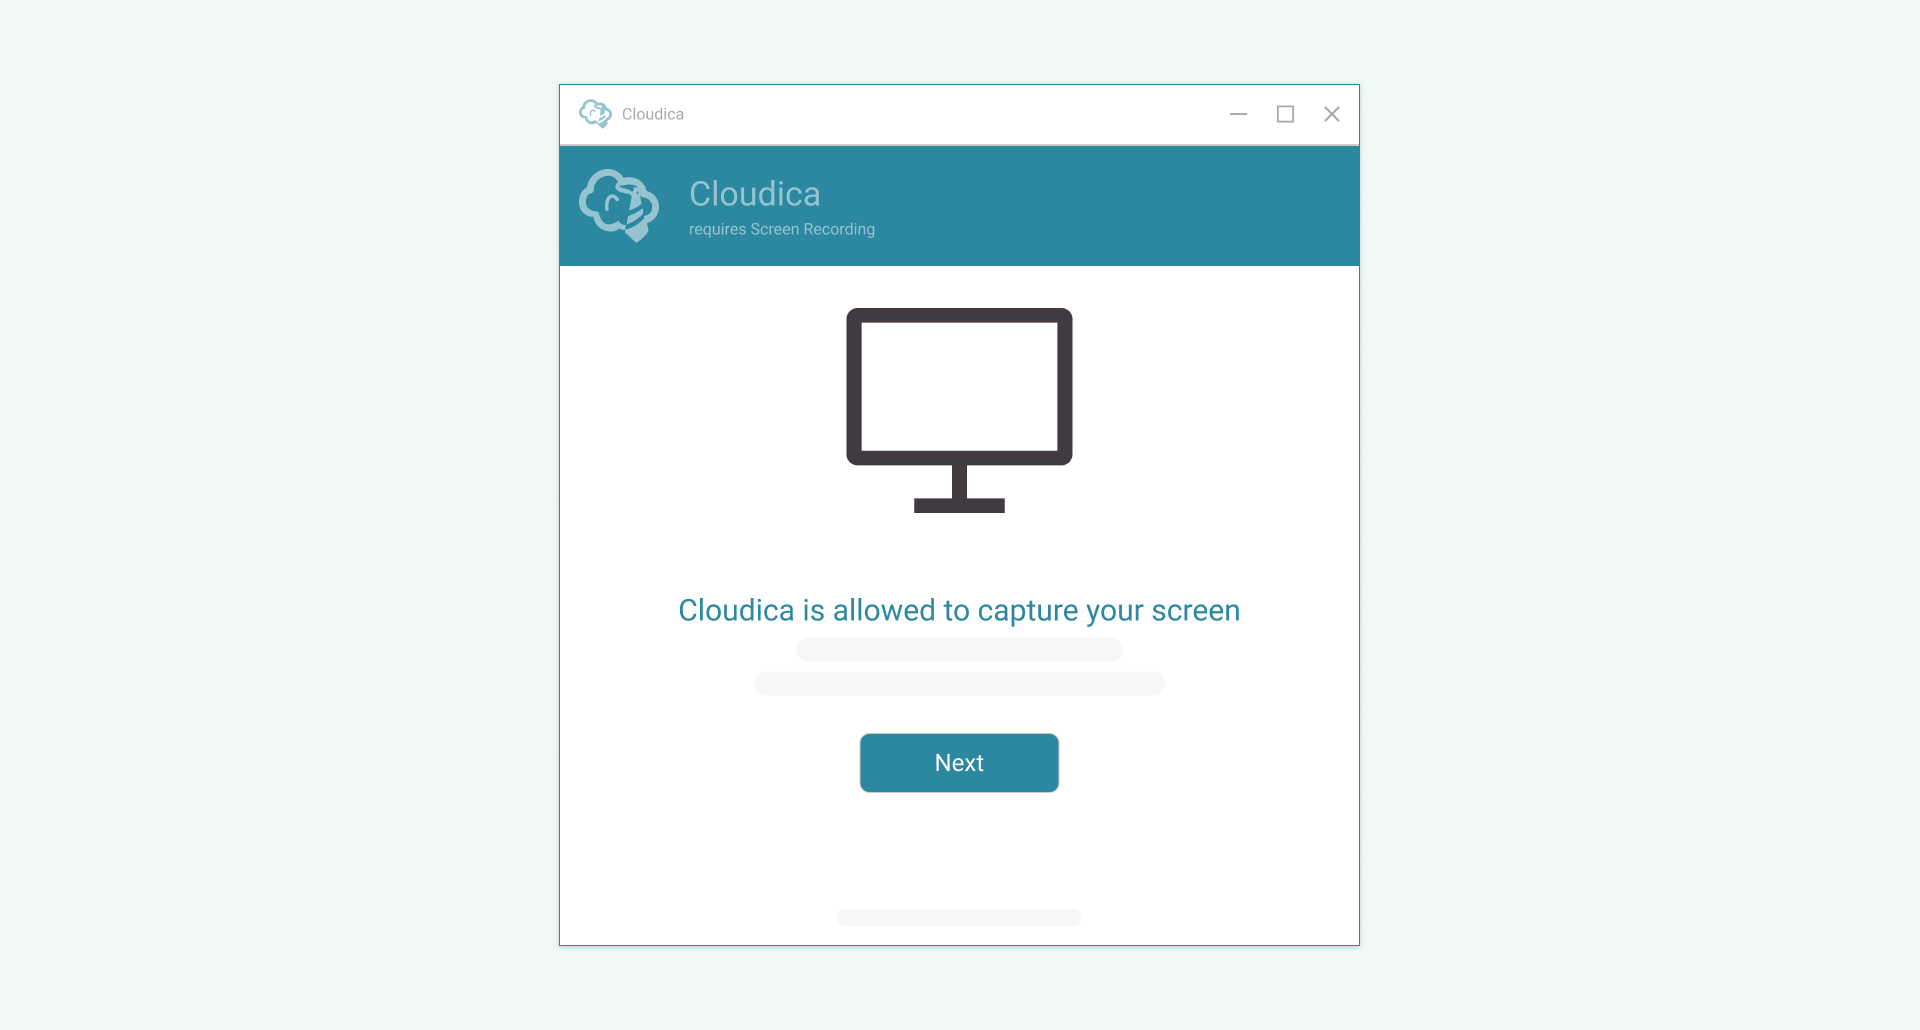
Next up is screen recording. The app will take screenshots every minute and when you switch apps.
The keyboard and mouse access allows the app to record keystrokes and monitor computer activity.
Next is the automation approval. This will allow the app to track the applications and URL addresses you use.
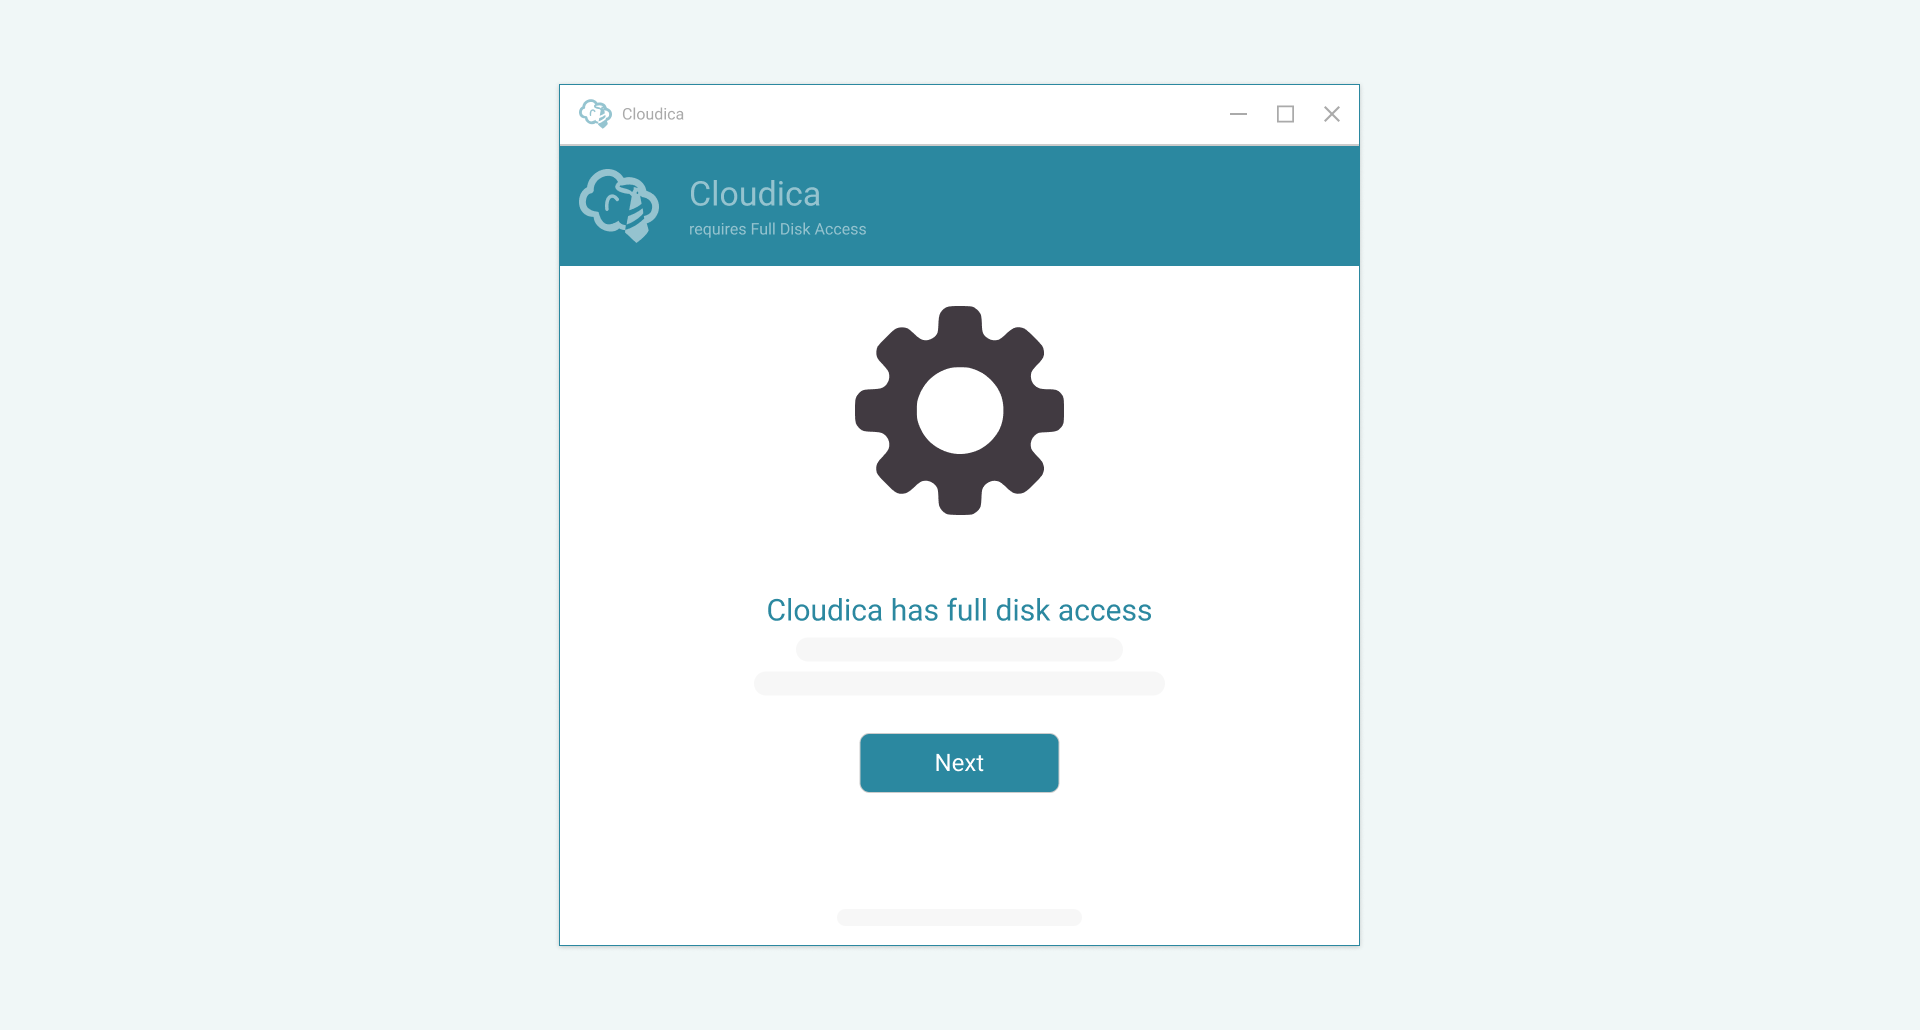
Lastly is the disk access permission. This is to save your data in case you lose internet connection.
Once the app permission setup is done, log in and authenticate your account. The code is found in your web dashboard.
In your dashboard, go to the banner on the top of the page and grant access to your device.
Enter the authentication code from the dashboard on your Cloudica™ app. And now, your app is ready and will start monitoring.
Read more on how to use the app here.