App Permission Setup Walkthrough (Windows)


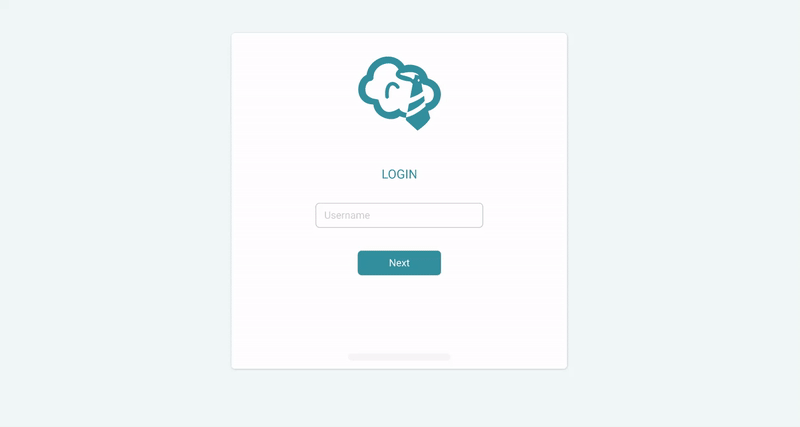
- Log in to the app.
- Go to your web dashboard to get your authentication code (you’ll find it in the banner at the top of the page).
- Enter this code in the Cloudica™ app.
- You’re all set! Monitoring will now begin.