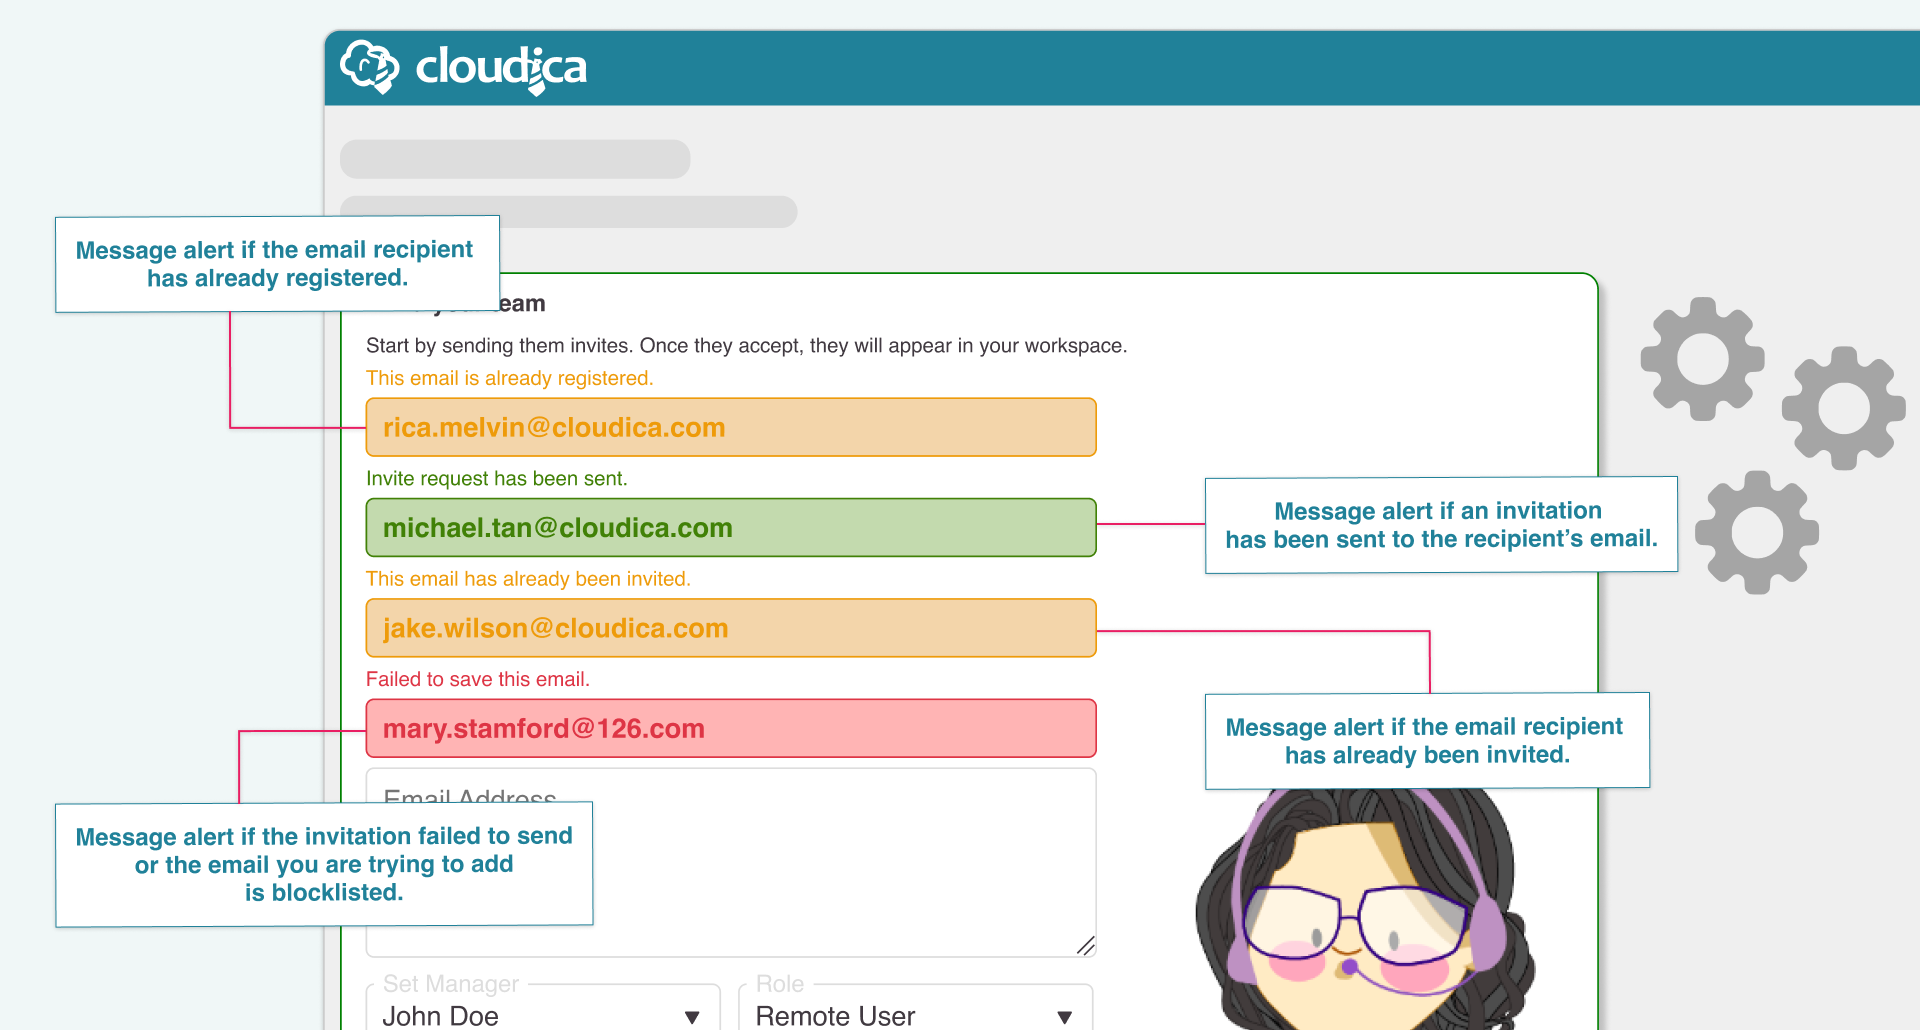
How to Invite New Remote Users

- Click the Set Manager box.
- Select from the dropdown list.
- Click the Role box.
- Select either Remote User or Manager.

- Invited users will receive an email invitation.
- The email includes a “Join Cloudica™” button.
- Clicking the button begins the account setup process.
- Once setup is complete, users appear in the Active Users list and in the Org Chart.

- After sending the email invitation, find the Invited Data box with their email.
- Hover over or click the box.
- A link icon will appear.
- Click the icon to copy the invitation link.
- Manually send the link to the user.

- Click your avatar at the top of the dashboard.
- Select “Send Invite” from the dropdown.
- This opens the Invitation Form.
- Follow the same steps listed above to complete the process.

- Click the “Invite” button to open the invitation dashboard.
- Go to the Pending Invites section.
- Find the Invited Data box of the user.
- Hover over or click the box.
- Click the X icon to cancel the invitation.

- Duplicate invitations
- Invites sent to blocklisted emails