How to Use the Application Gallery

- Application Name Displayed at the top of the gallery.
- Back Button Click to return to the treemap view.
- Screenshots by User Screenshots grouped under each user who used the app.
- Screenshots by Time Screenshots shown in order of when they were taken.
- Resize Data SliderResize thumbnails of screenshots.
- Offline Filter Show only screenshots captured while users were offline.
- Mode Filter Choose between screenshots captured by window or fullscreen.
- Timeline A vertical timeline on the right-hand side showing screenshot timestamps.
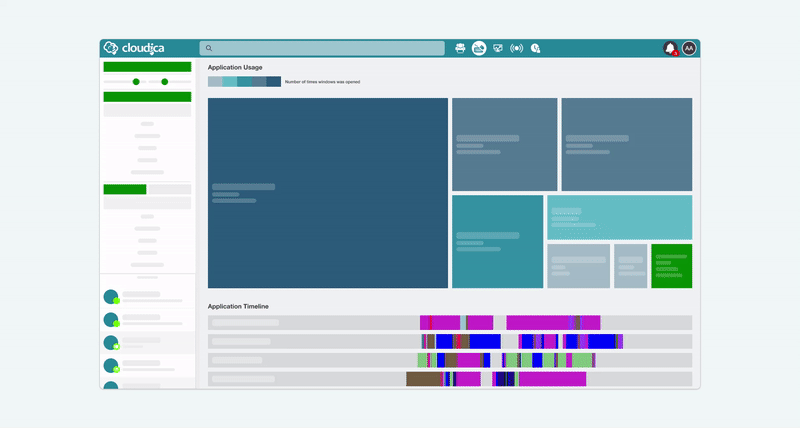
- From the Application Usage treemap, click on an app tile.
- Click the User Mode button in the upper-right corner of the tile.
- Click the App Menu (three dots) in the header.
- Select Browse Gallery from the dropdown menu.
- Follow the steps above to open the Application Gallery.
- Click a user's name or screenshot preview to expand their gallery.

- From the treemap, click an app tile.
- Click User Mode.
- Click the user’s tile.
- Open the User Treemap Menu (three dots) on their tile.
- Select Browse Gallery.
- Open the Application Gallery from the App Menu as described above.
- Scroll to the section labeled Screenshots by Time just below the user list.

- All Screenshots (default): Shows everything.
- Offline: Shows only screenshots taken while the user was offline or disconnected.
- By Window: Displays screenshots taken from application windows.
- Fullscreen: Displays screenshots taken in full screen.

- DownloadSave the screenshot to your device.
- View Open the screenshot in a larger view.
- AnnotateAdd comments or notes to the image.
- View Task Report Opens the Task Report Player. (This option is only visible if the Remote User saved a Task Report using the selected Application Screenshot.)